Unlock Stress-Free Mornings with Easy Freezer Breakfast Sandwiches
Imagine waking up to a delicious, hot breakfast ready in just two minutes, with no mess to clean. Sounds like a dream, right? For anyone juggling a busy schedule, the morning rush often means skipping breakfast or settling for something less than satisfying. But what if you could transform your hectic mornings into a calm, nourished start to your day? Enter the magic of freezer breakfast sandwiches. These make-ahead marvels are a game-changer for meal prep enthusiasts and anyone seeking a convenient, tasty, and customizable breakfast solution. With a little bit of prep on a Sunday afternoon, you can stock your freezer with a week's (or even a month's!) worth of hearty, satisfying breakfast sandwiches, ensuring you never face the "what's for breakfast?" dilemma again.Why Freezer Breakfast Sandwiches Are Your New Morning Best Friend
The concept of preparing meals ahead of time is a powerful strategy for maintaining a healthy lifestyle and managing a demanding schedule. When it comes to breakfast, the benefits of freezer breakfast sandwiches are particularly compelling:- Unmatched Convenience: Spend just 30-60 minutes on a weekend, and you'll have a grab-and-go breakfast for every weekday morning. No more last-minute scrambling or drive-thru detours.
- Time-Saving: From freezer to plate in about two minutes in the microwave, these sandwiches free up precious morning time that can be better spent on other tasks, or simply enjoying an extra few moments of peace.
- Budget-Friendly: Making your own breakfast sandwiches at home is significantly more economical than purchasing them daily from coffee shops or fast-food establishments. You control the ingredients, allowing you to buy in bulk and save.
- Healthier Choices: When you prepare your own sandwiches, you dictate what goes into them. Opt for whole grain English muffins, lean proteins, fresh vegetables, and reduced-fat cheese to create a breakfast that aligns with your dietary goals. You can easily Customize Freezer Breakfast Sandwiches for Any Taste and dietary need.
- Reduced Dishes: Since the heating process typically involves just a microwave and a wrapper, you'll find your kitchen stays cleaner, cutting down on morning cleanup duties.
Crafting Your Perfect Freezer Breakfast Sandwiches: A Step-by-Step Guide
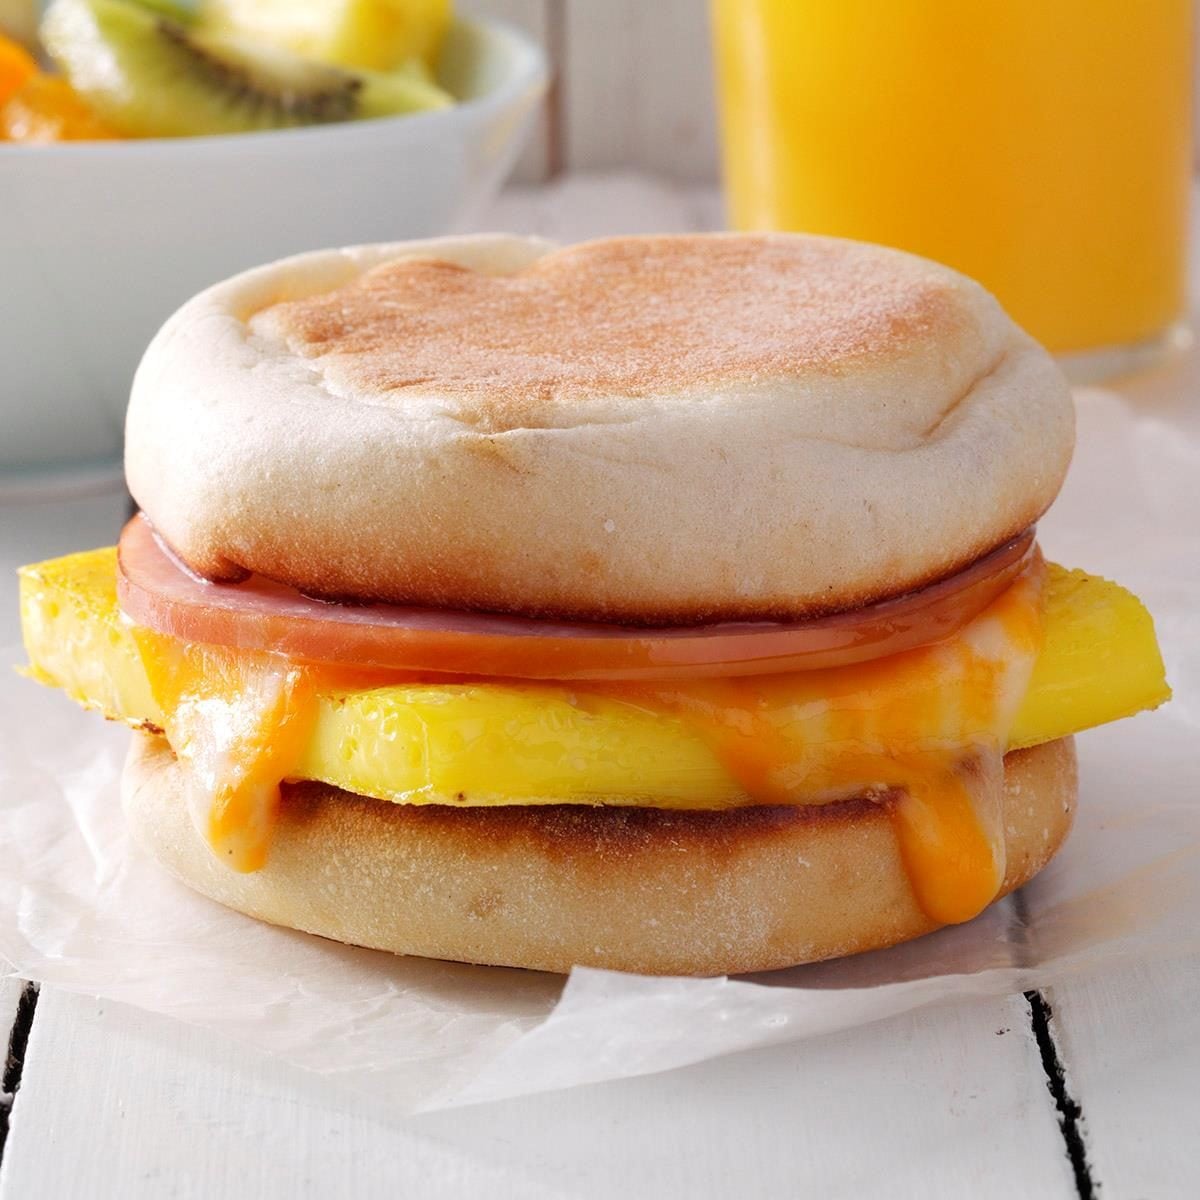
Creating a batch of these glorious sandwiches is simpler than you might think. The key lies in efficient batch cooking and proper assembly. For our foundational recipe, we'll focus on a classic sausage, egg, and cheese combination on an English muffin, but remember, customization is always encouraged!Ingredients You'll Need (for 6 sandwiches):
- 6 whole grain English muffins, split
- 6 sausage patties (or equivalent in bulk sausage, cooked and formed)
- 6 eggs
- 2 tablespoons milk (optional, for fluffier baked eggs)
- Salt and freshly ground black pepper to taste
- A pinch of cayenne pepper (optional, for a subtle kick)
- 6 slices American processed cheese (or your preferred cheese)
- Cooking spray or a small amount of oil
Detailed Preparation Steps:
- Cook Your Protein:
Heat a large skillet over medium heat. Place your sausage patties in the hot skillet and cook, turning occasionally, until they are thoroughly cooked through and beautifully browned, typically 10 to 12 minutes. Once done, transfer the patties to a paper-towel-lined plate to drain any excess grease. If using bacon or ham, cook these according to package directions until crispy or warmed through.
- Prepare the Eggs (The Batch Cooking Way):
This method is far more efficient for making multiple sandwiches than cooking individual eggs. Preheat your oven to 350°F (175°C). Lightly grease a 9x13 inch baking pan with cooking spray.
In a large bowl, whisk together the 6 eggs, milk (if using), salt, pepper, and a dash of cayenne pepper (if desired) until well combined and slightly frothy. Pour the egg mixture evenly into the prepared baking pan. Bake for 18-22 minutes, or just until the center is set. Important: Avoid overcooking the eggs, as they will continue to cook when reheated. You want them to be just barely set, ensuring a tender texture later. Once baked, remove the pan from the oven and let the egg slab cool completely. Once cool, use a knife or pastry cutter to cut the egg into 6 equal squares, perfectly sized for your English muffins.
(Alternative for smaller batches: If only making 1-2 sandwiches, you can whisk 1 egg with seasonings and cook it in a 3-inch mini frying pan, flipping once, until set, as described in one of our reference recipes.)
- Toast the English Muffins:
While the eggs and sausage are cooking and cooling, split and lightly toast your English muffins. Toasting helps prevent the muffins from becoming soggy once frozen and reheated, and also adds a nice textural element. Allow them to cool completely as well.
- Assemble Your Sandwiches:
This is where it all comes together! Ensure all your components – the cooked sausage, egg patties, toasted English muffins, and cheese slices – are completely cooled. Assembling with warm ingredients can create condensation, leading to soggy sandwiches later. Lay out the bottom halves of your English muffins. On each bottom half, layer an egg patty, followed by a slice of cheese, and then a sausage patty. Finally, top with the other half of the English muffin.
- Wrap and Freeze:
Individually wrap each assembled sandwich tightly. You can use aluminum foil, wax paper, or parchment paper. Foil provides excellent protection against freezer burn. Once wrapped, place the sandwiches in a large freezer-safe resealable bag or an airtight container. This extra layer of protection helps maintain freshness and prevents freezer odors from permeating your sandwiches. Label the bag with the date. Your freezer breakfast sandwiches can be stored for up to 1 month, though they often get eaten much faster!
Reheating Your Frozen Breakfast Masterpiece
The beauty of these make-ahead sandwiches truly shines when it's time to eat them.Microwave Method (Quickest):
- Remove the frozen sandwich from the freezer and unwrap it completely from its foil or paper.
- Place the unwrapped sandwich on a microwave-safe plate.
- Heat on high for approximately 1 minute and 30 seconds to 2 minutes, or until thoroughly heated through and the cheese is melted. Cooking times may vary based on your microwave's wattage.
- Allow to cool for a minute before enjoying, as the steam can be quite hot.
Oven/Toaster Oven Method (For Crispier Results):
If you prefer a crispier English muffin and have a few extra minutes, the oven or toaster oven is a great option.
- Preheat your oven or toaster oven to 350°F (175°C).
- Remove the sandwich from its wrapper and place it directly on a baking sheet or toaster oven rack.
- Bake for 15-20 minutes, or until heated through and the cheese is bubbly.
Tips for Ultimate Freezer Breakfast Sandwich Success
To ensure your freezer breakfast sandwiches are consistently perfect, consider these additional tips:- Cool Everything Down: This cannot be stressed enough. Warm ingredients create steam, which turns into moisture in the freezer, leading to soggy bread.
- Don't Overcook Eggs: Baked eggs should be just set. They will finish cooking during reheating, so a slightly undercooked center is actually ideal for texture.
- Batch Cook Smart: When preparing multiple items, set up an assembly line. Cook all the meat, then all the eggs, then toast all the muffins. This streamlines the process and saves time.
- Label Clearly: If you're experimenting with different fillings, label your wrappers. "Sausage, Egg, Cheese - 10/26" will save you guessing games.
- Vary Your Fillings: Don't limit yourself to the basic recipe. Explore different cheeses, proteins like bacon or turkey sausage, or even add a slice of tomato or some wilted spinach before freezing (ensure spinach is completely dry). For more ideas, check out our guide on Customize Freezer Breakfast Sandwiches for Any Taste.
- Consider Bread Alternatives: While English muffins freeze exceptionally well, you can also experiment with bagels, sandwich thins, or even whole wheat bread. Just remember that denser breads tend to hold up better.
